Last updated: 2026.7.15
| Contents of this page |
Prerequisites common to every scenario
 |
Now, before we look at how to build out various scenarios with Cisco Secure Access, let's first take care of a setup step that's required for all of them. |
 |
Hm? What would that be? |
|
Last time, we saw a diagram of remote workers connecting to SASE remotely, right? What do you think is needed to make that remote access possible? |
|
Ah, authentication, maybe? |
|
That's right. You need an authentication foundation. Secure Access can integrate with various IdPs via SAML, and this time we'll set up SAML integration with Entra ID for authentication. We already created the test users and groups shown in the table below in Creating test users and groups, so we'll use those. |
| Username | Password | Group membership | Two-factor authentication |
| entra_user1 | Any | entra_group1 | None |
| entra_user2 | 〃 | entra_group2 | 〃 |
| entra_user3 | 〃 | entra_group1 | 〃 |
| entra_user4 | 〃 | entra_group2 | 〃 |
SCIM integration between Secure Access and Entra ID
|
Now, in order to authenticate by integrating Secure Access with Entra ID, you first need to sync the user and group information held in Entra ID over to Secure Access in advance, as shown in the diagram below. |
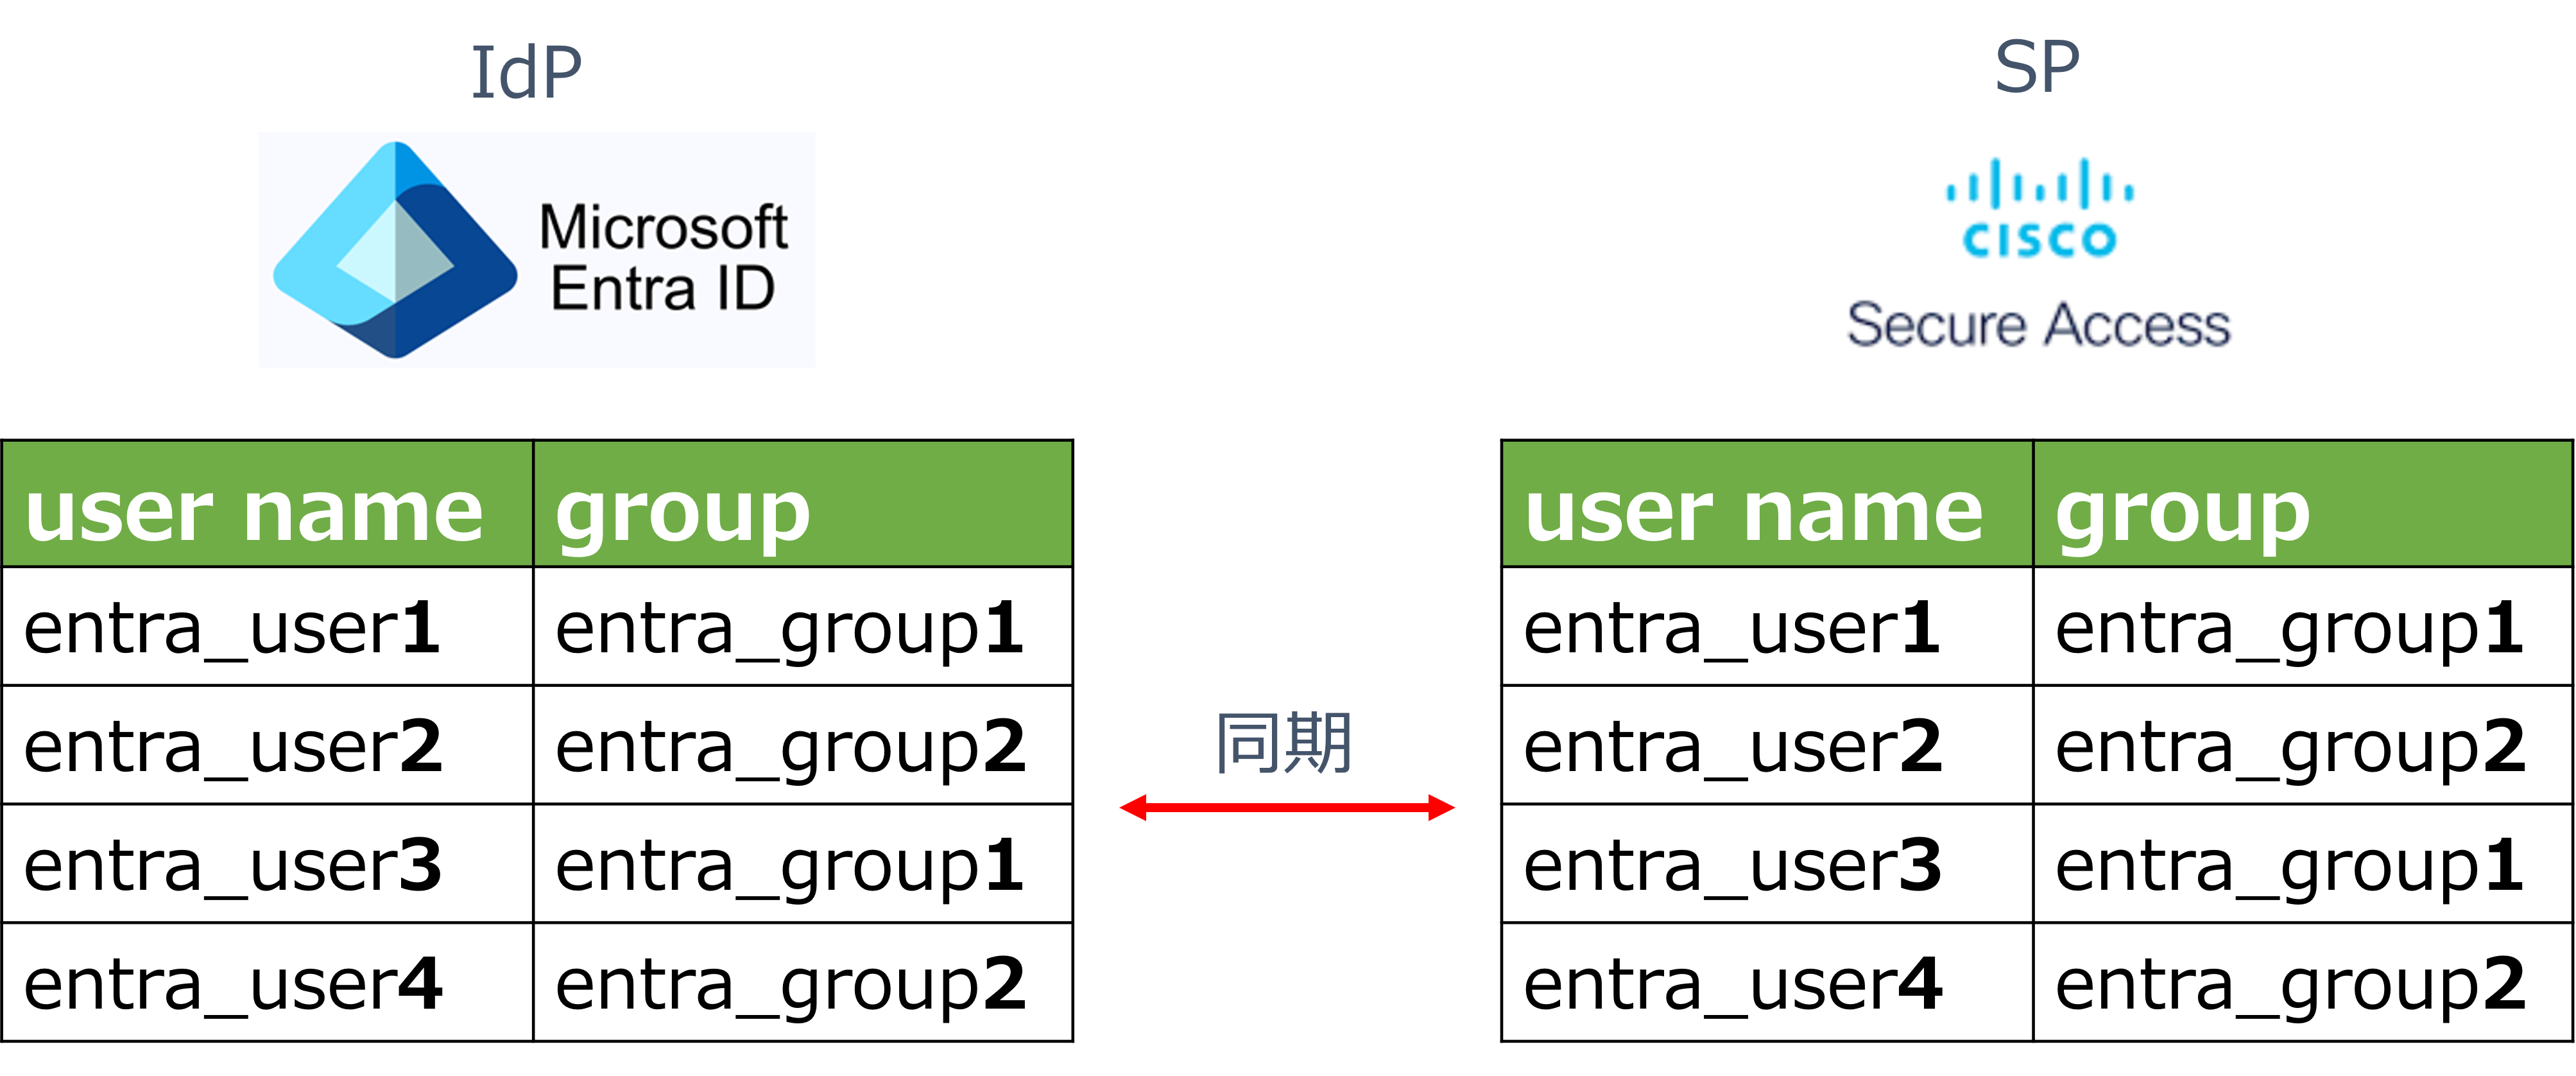
|
I see. Does this sync have to be done manually? |
|
No, there's a protocol called SCIM (System for Cross-domain Identity Management) that can sync it automatically. It's pronounced "skim." That's what we'll use this time too. |
|
I see. But now that I think about it, when doing SAML authentication with Fortigate's SSL VPN, we didn't need any advance sync like this — why is it needed here? |
|
I'm not with the vendor, so I don't know all the reasoning behind it, but SASE-type services like Secure Access are generally paid subscriptions. I'd guess that means the number of users allowed to use the service, and their user information, needs to be managed strictly. And for that purpose, syncing the database like this is probably a lot more convenient. If you use an approach like SAML JIT (Just In Time Provisioning) instead of SCIM — the kind of approach used for SAML authentication with Fortigate, where user information is pulled in on the fly as needed — then, for example, if a departed employee's user information is deleted on the Entra ID side, that user information can end up remaining on the SP side. Personally, though, I don't think that's a major security problem, since the SAML authentication itself will fail once the user information has been deleted at the source IdP. |
|
I see. Well, from what you've explained, it does sound like SCIM is becoming the more mainstream approach. |
|
That's right. Now let's go through the actual configuration steps. |
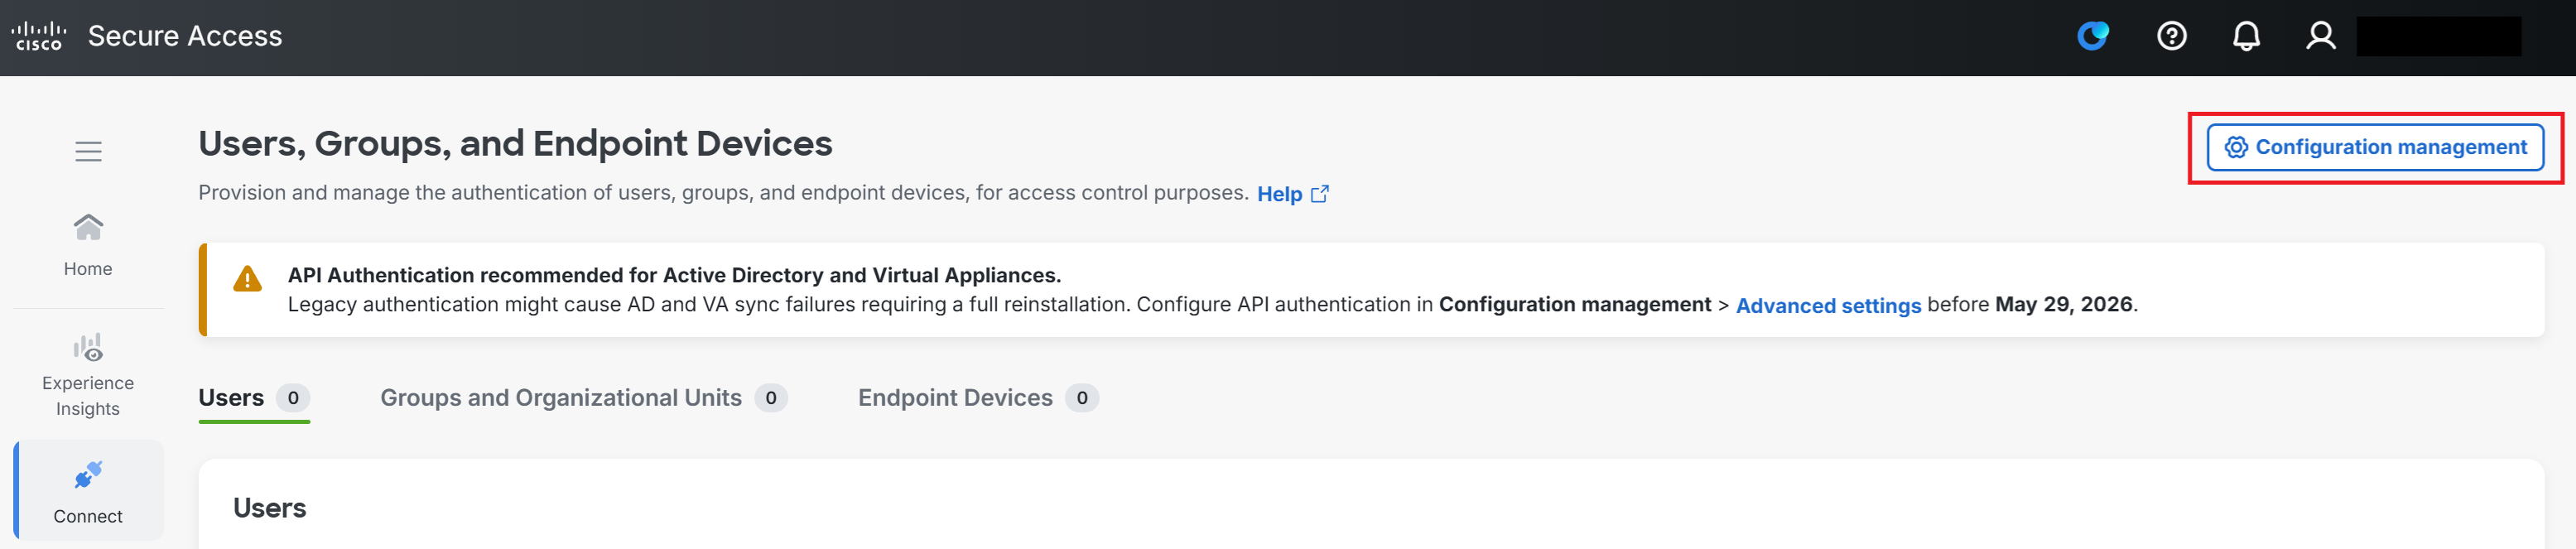
① Go to Connect → Users, Groups, and Endpoint Devices → Configuration management.
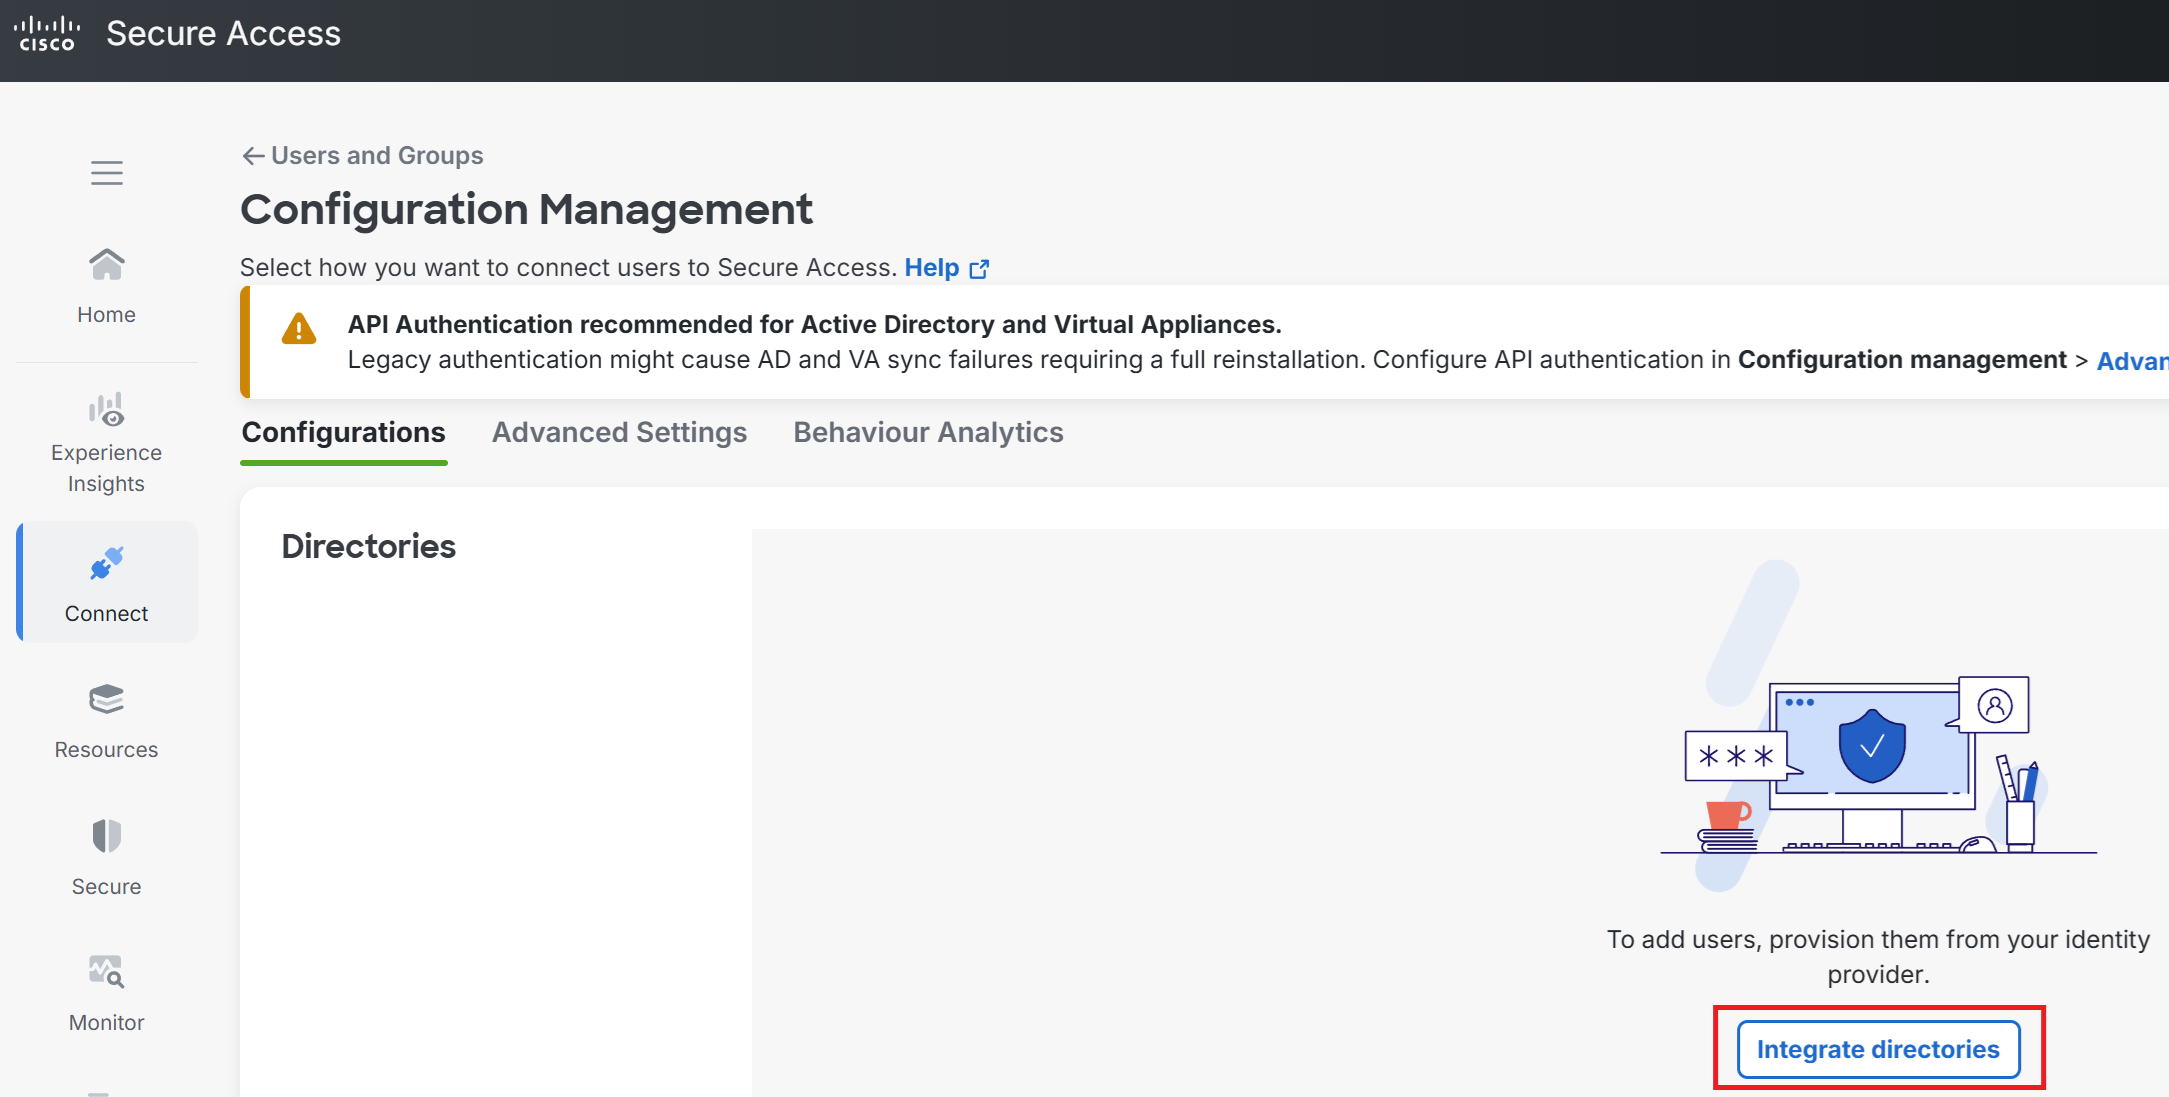
② Go to Integrate directories.
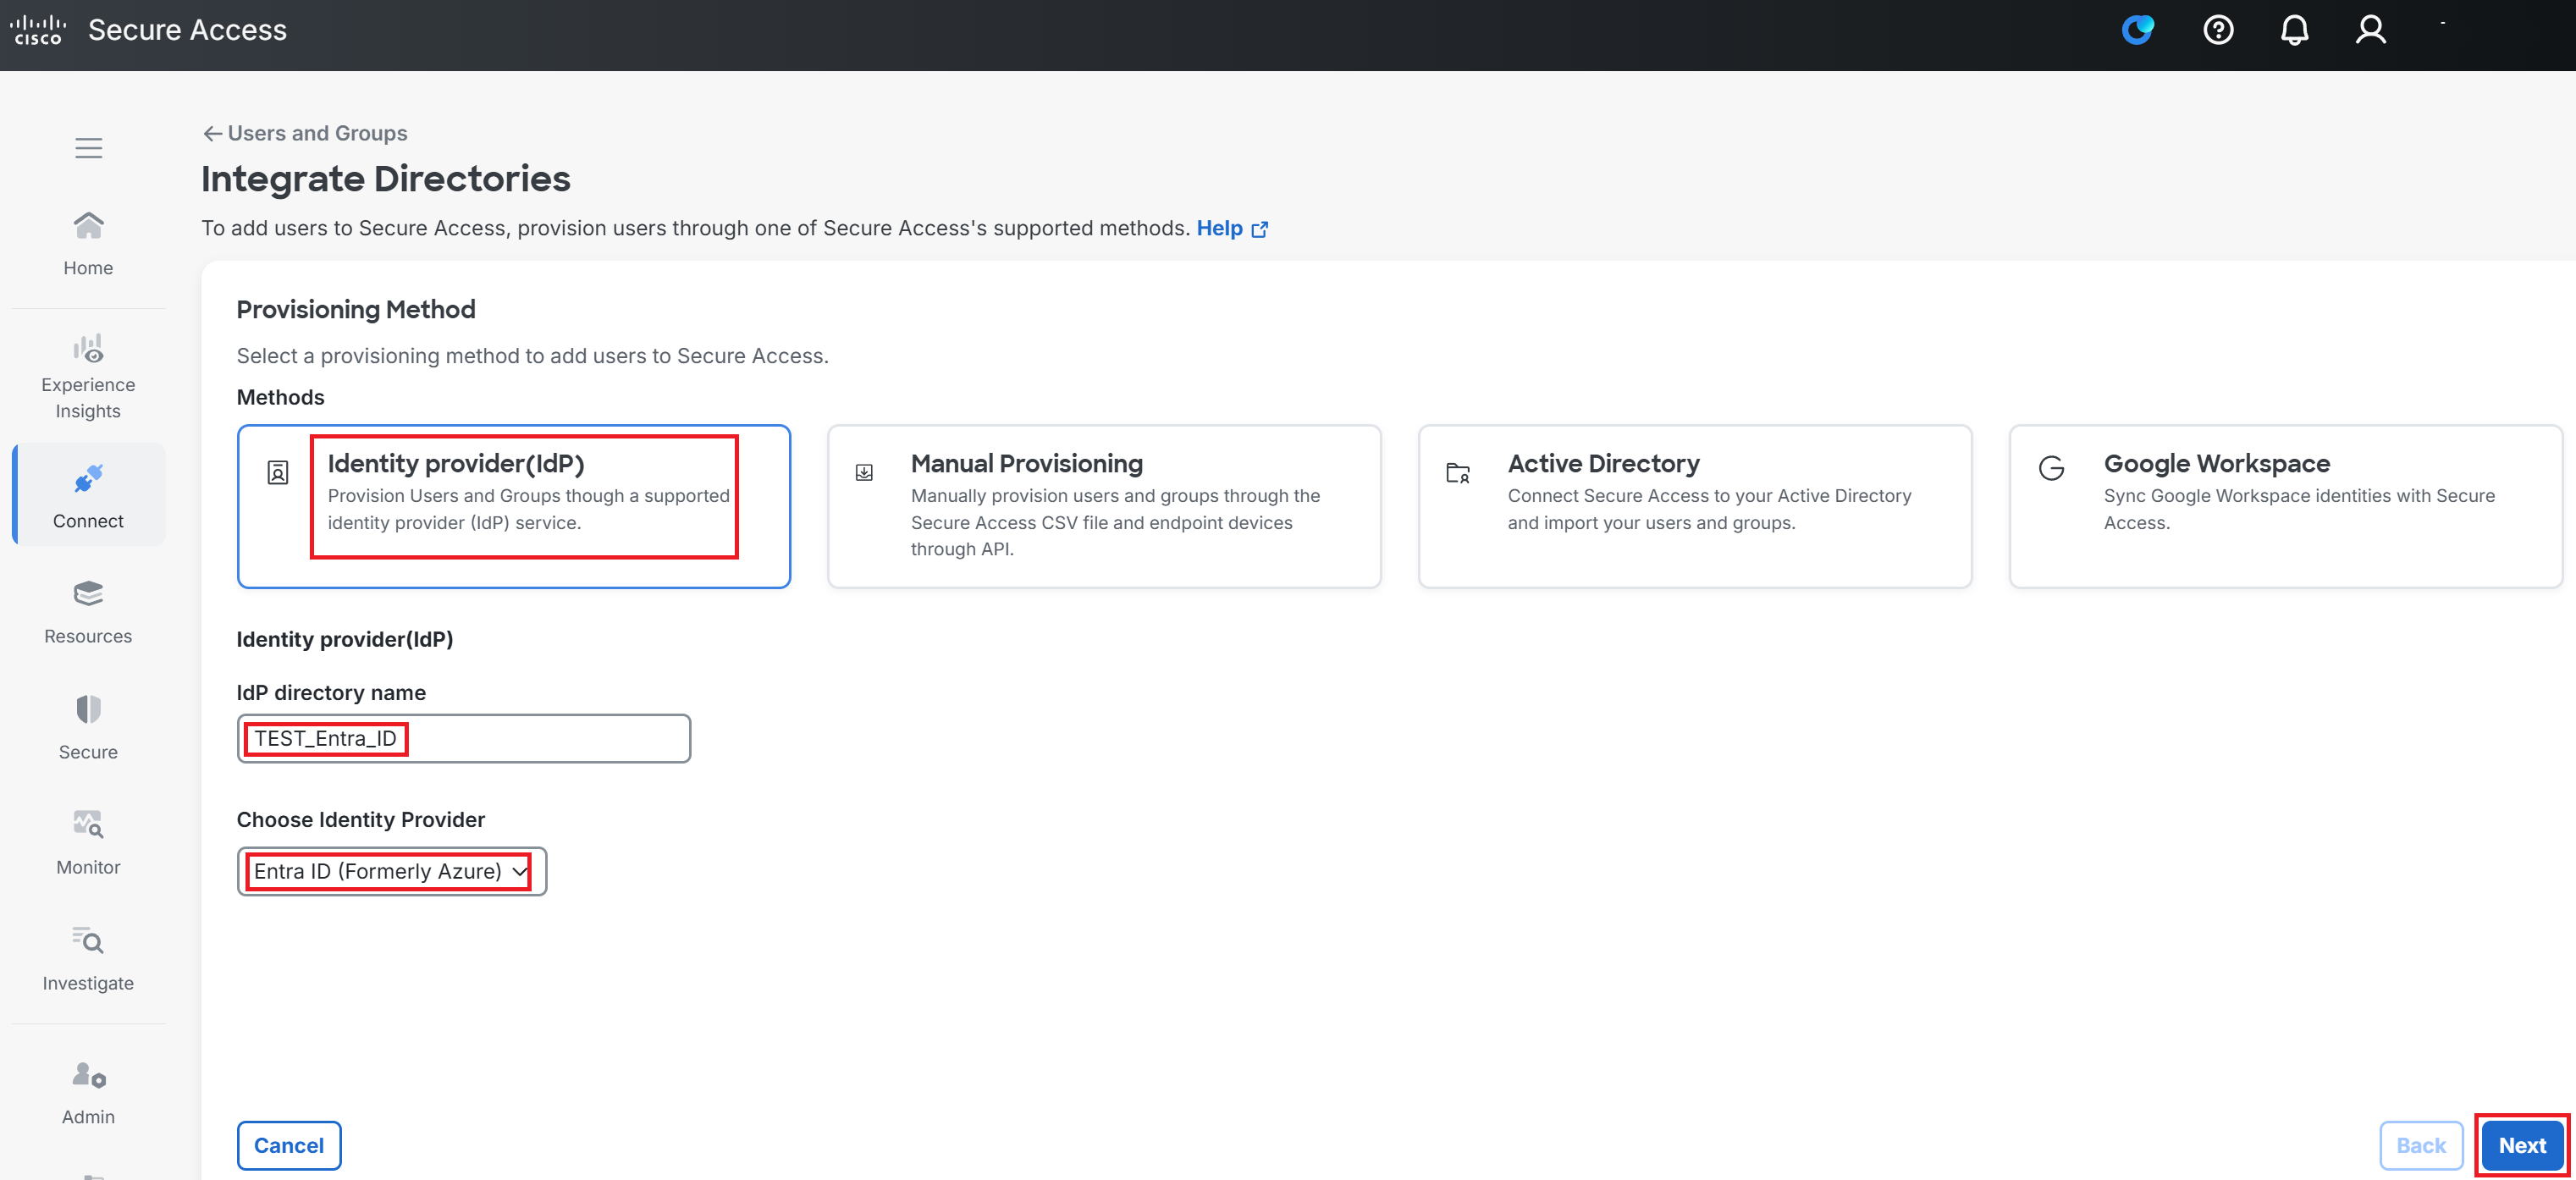
③ Working from the top, select IdP. Enter any name you like for the IdP directory name. This time we used TEST_Entra_ID.
For "Choose Identity Provider," select Entra ID. Then click Next at the bottom right.
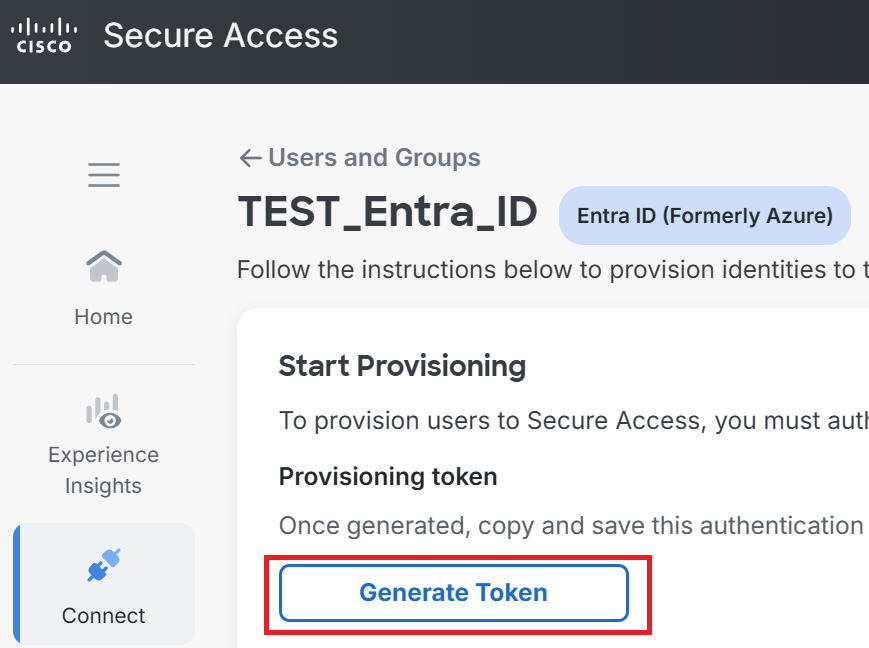
④ Click Generate Token.
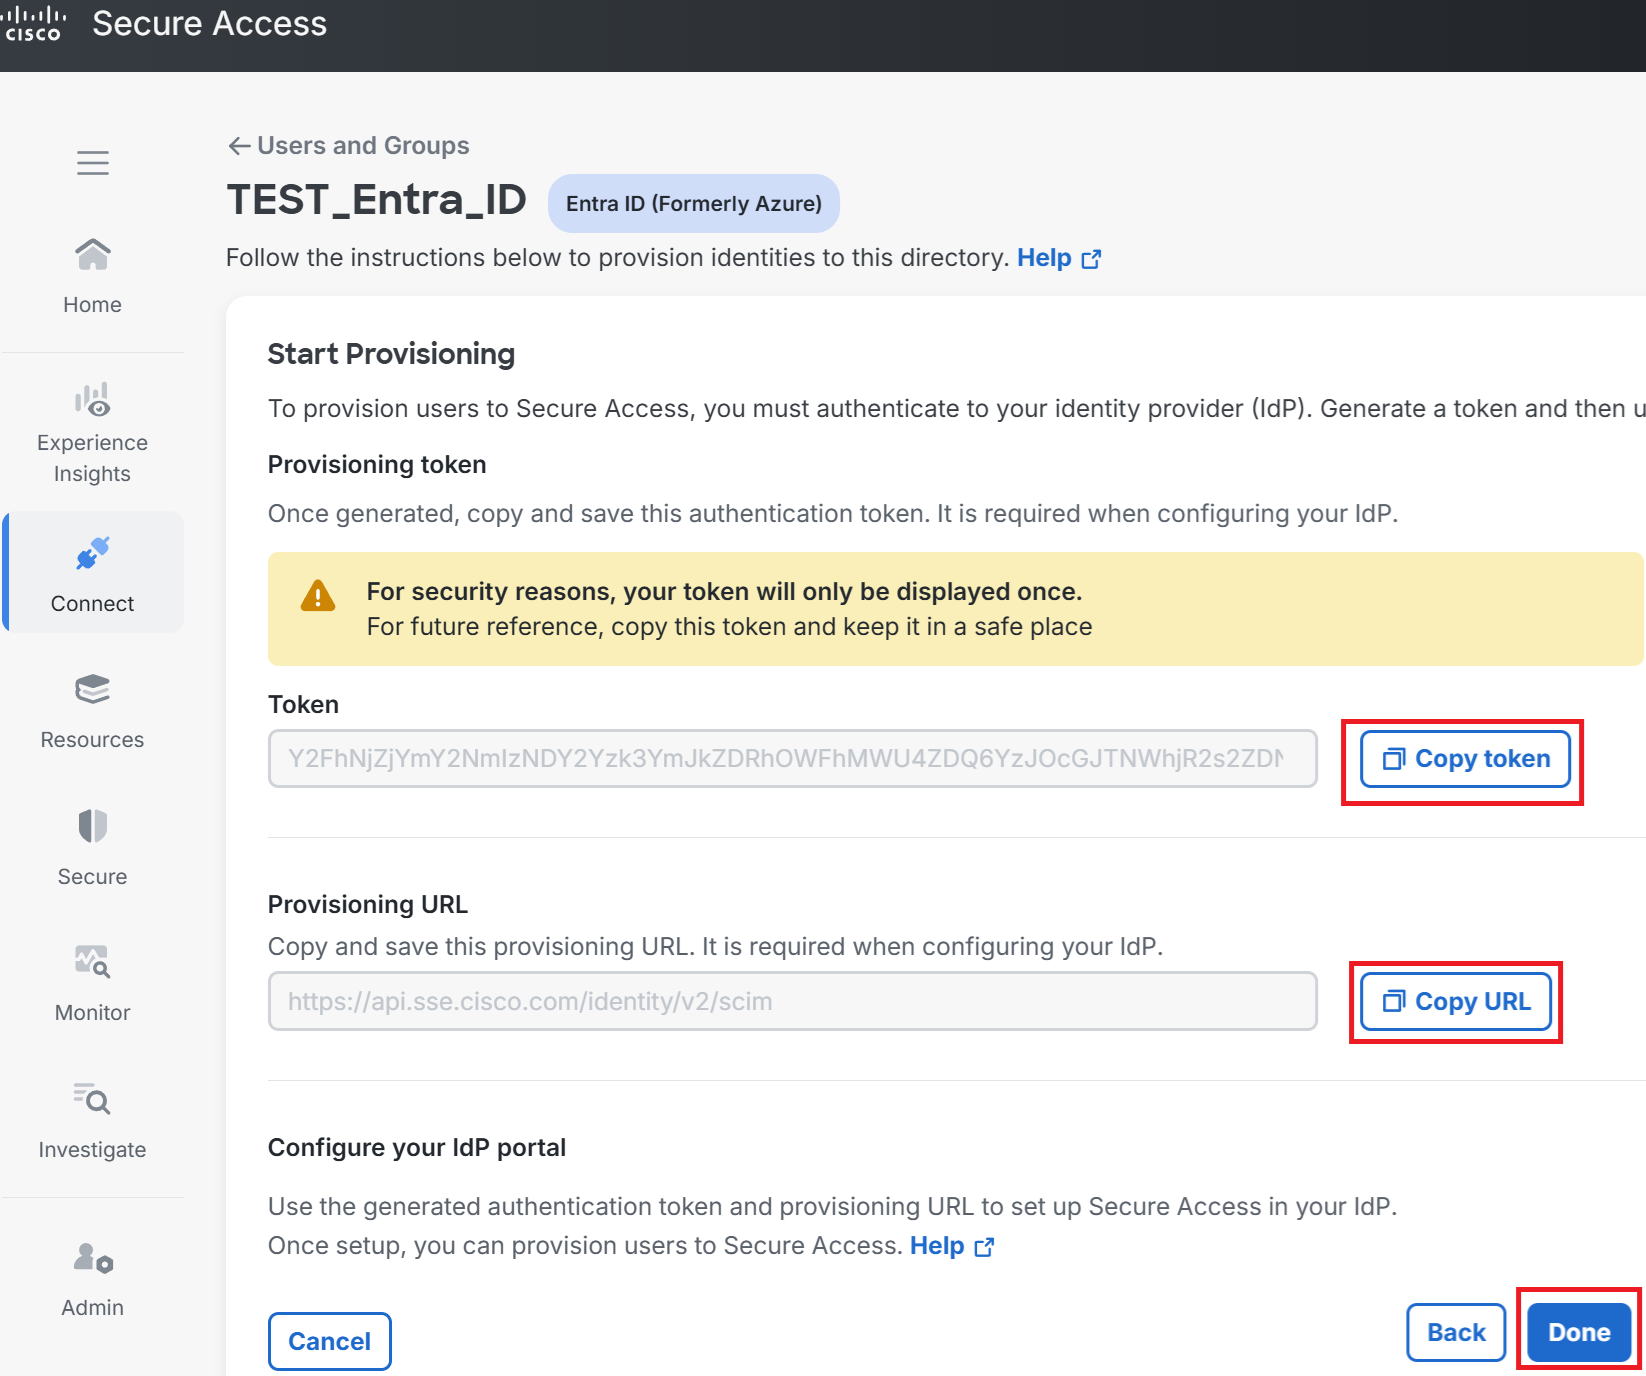
⑤ Click Copy token and Copy URL and make a note of them. Then click Done at the bottom right of the screen.
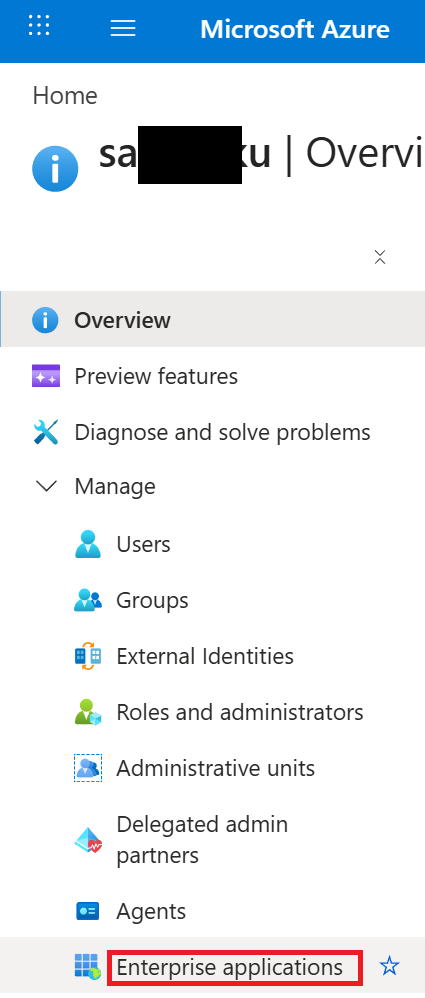
⑥ Go back to the Entra ID screen and open Enterprise applications under Manage.
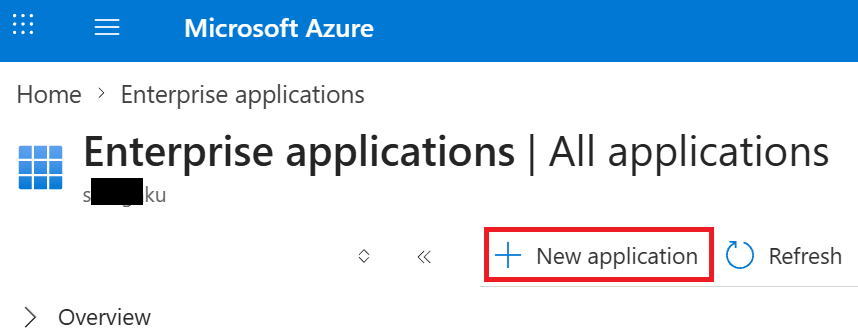
⑦ Go to New application.
⑧ Type cisco user into the search box, and select Cisco User Management for Secure Access, which appears at the top.
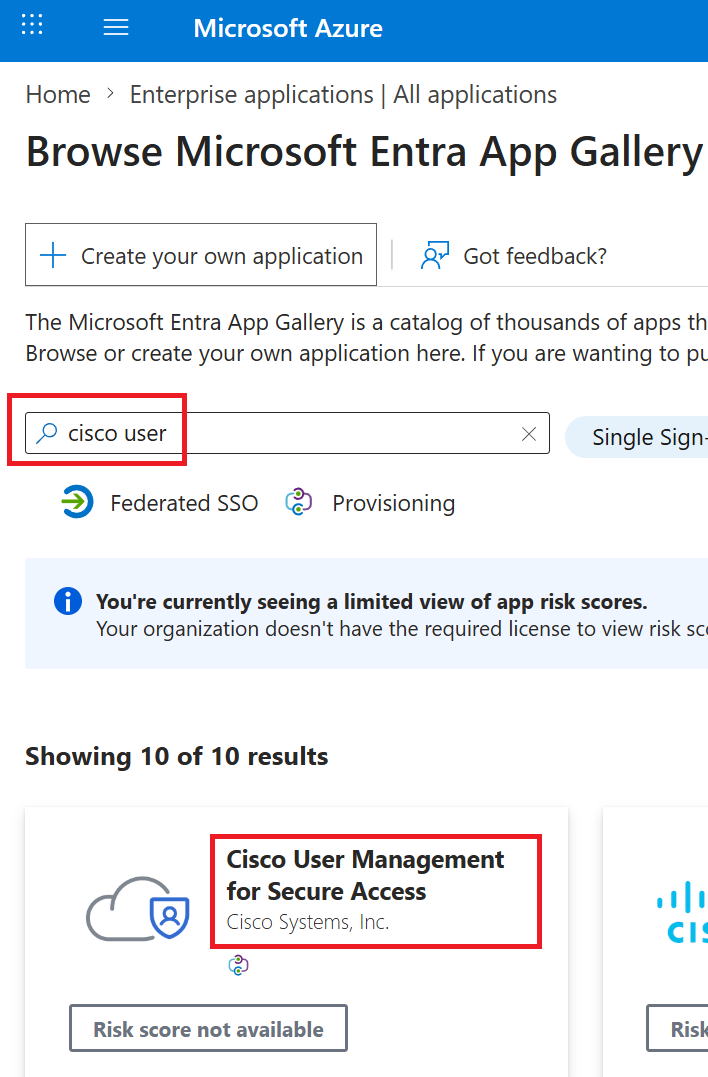
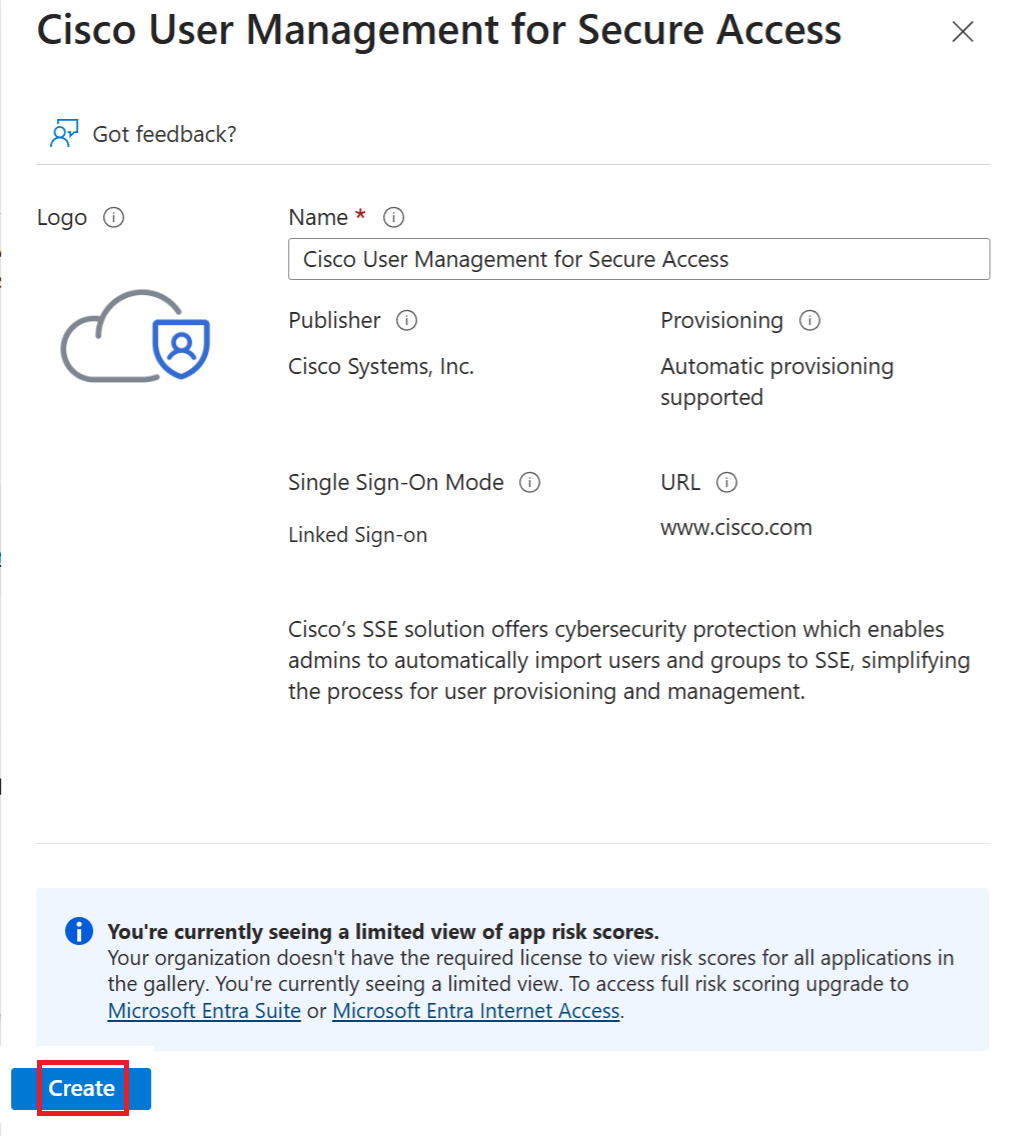
⑨ The screen below appears on the right side; just click Create as is.
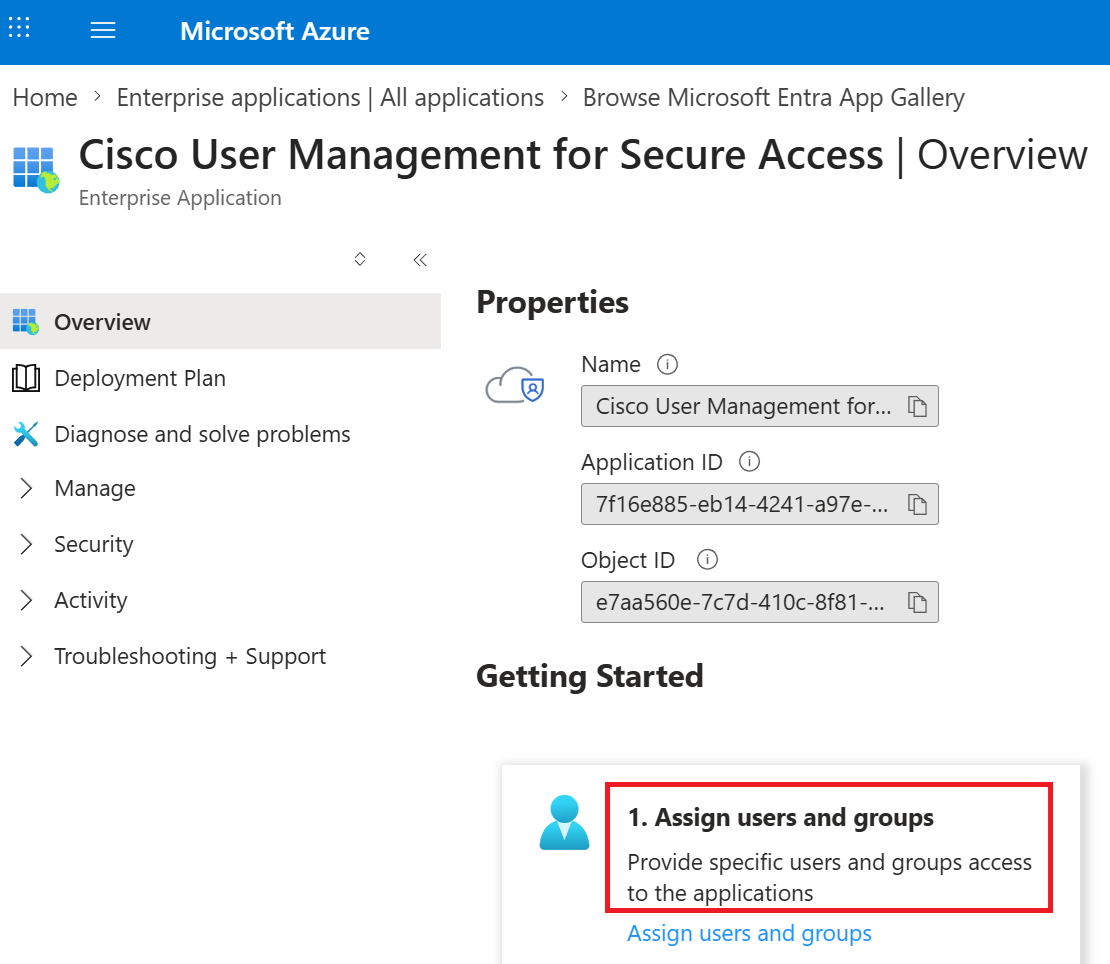
⑩ Once creation is complete, the following screen appears. Go to Assign users and groups.
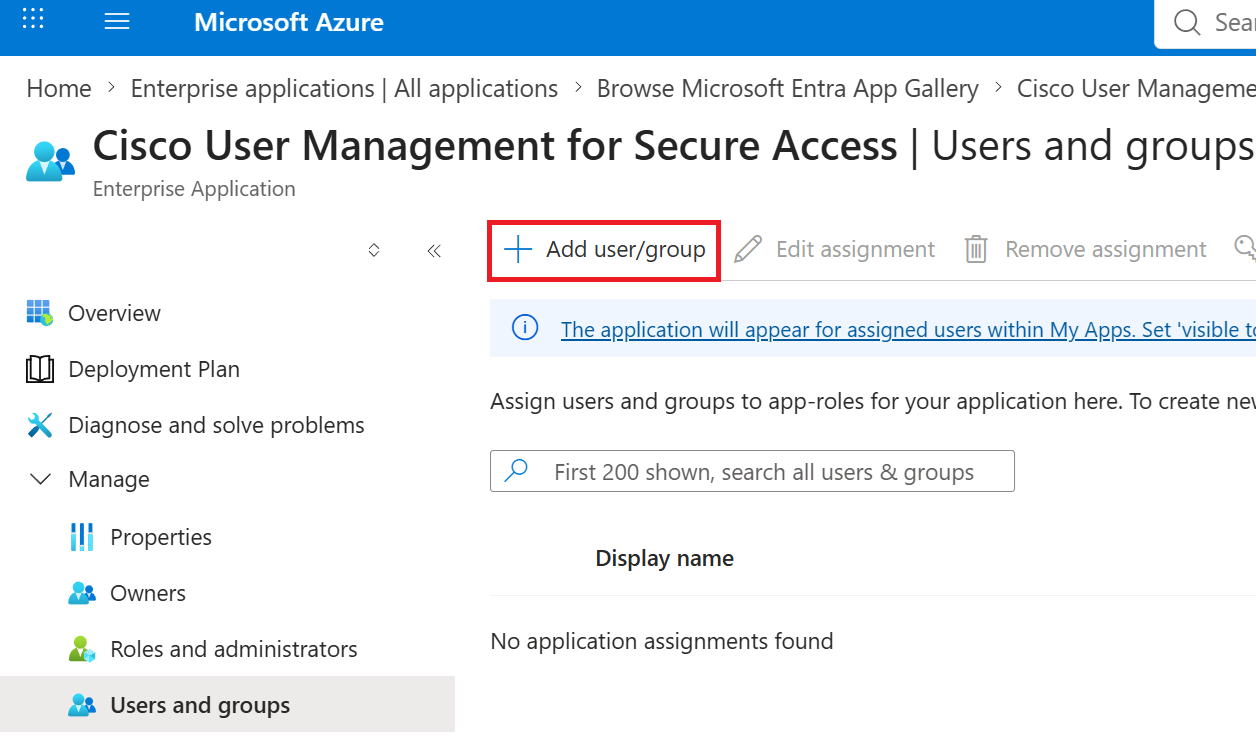
⑪ Go to Add user/group.
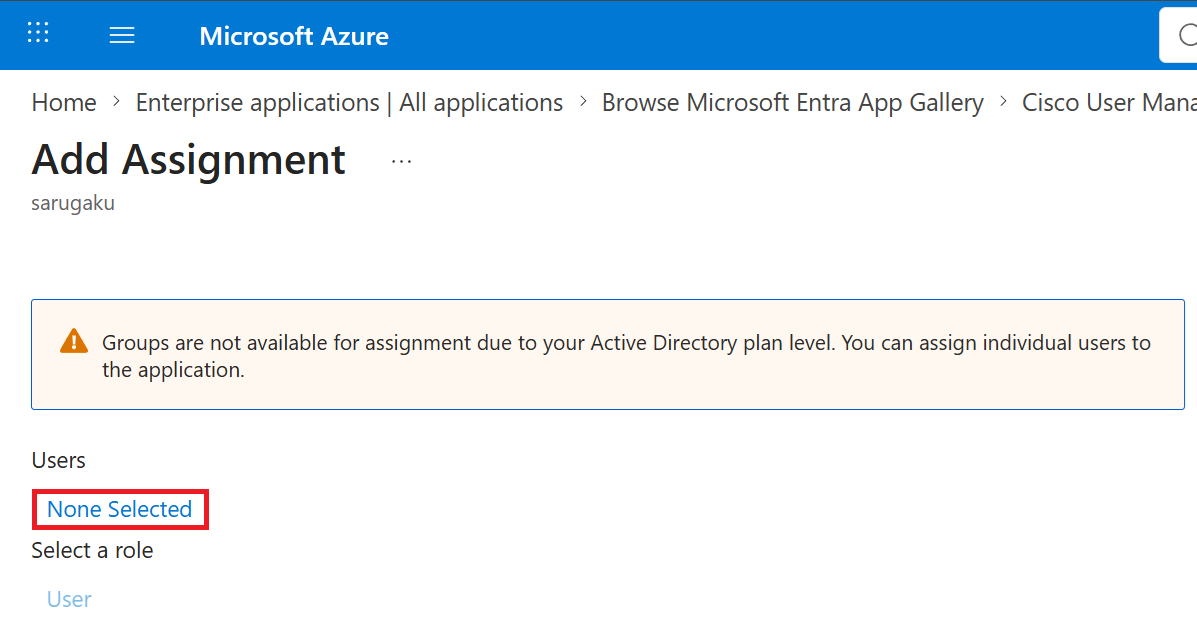
⑫ To link this app to users, click None Selected.
Note: since we're using the free plan (no-cost tier) of Entra ID this time, apps can't be linked at the group level, so each user has to be linked individually.
This is noted with a warning icon in the middle of the screen below.
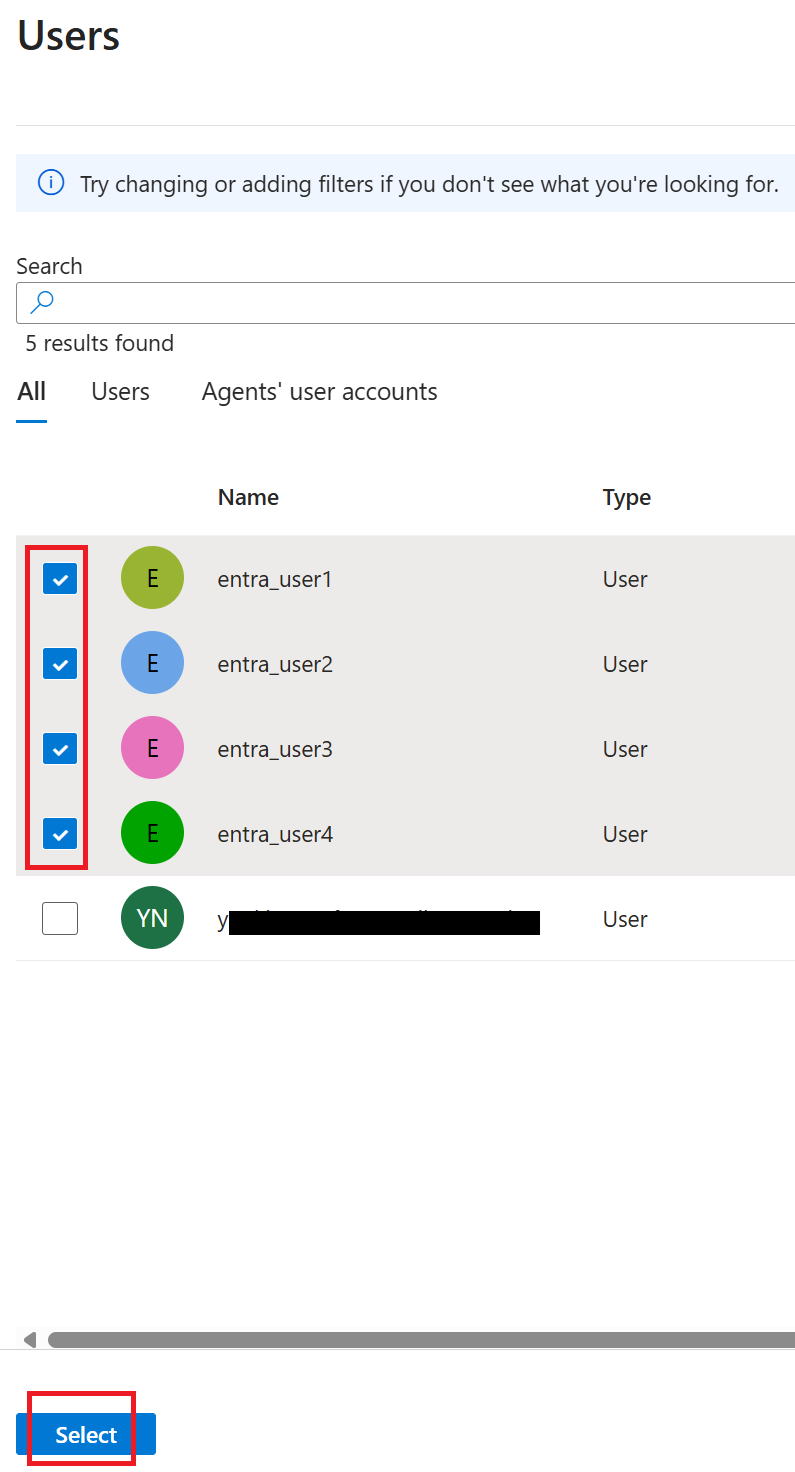
⑬ The screen below appears on the right side. This time, select entra_user1 through 4 and click Select at the bottom left.
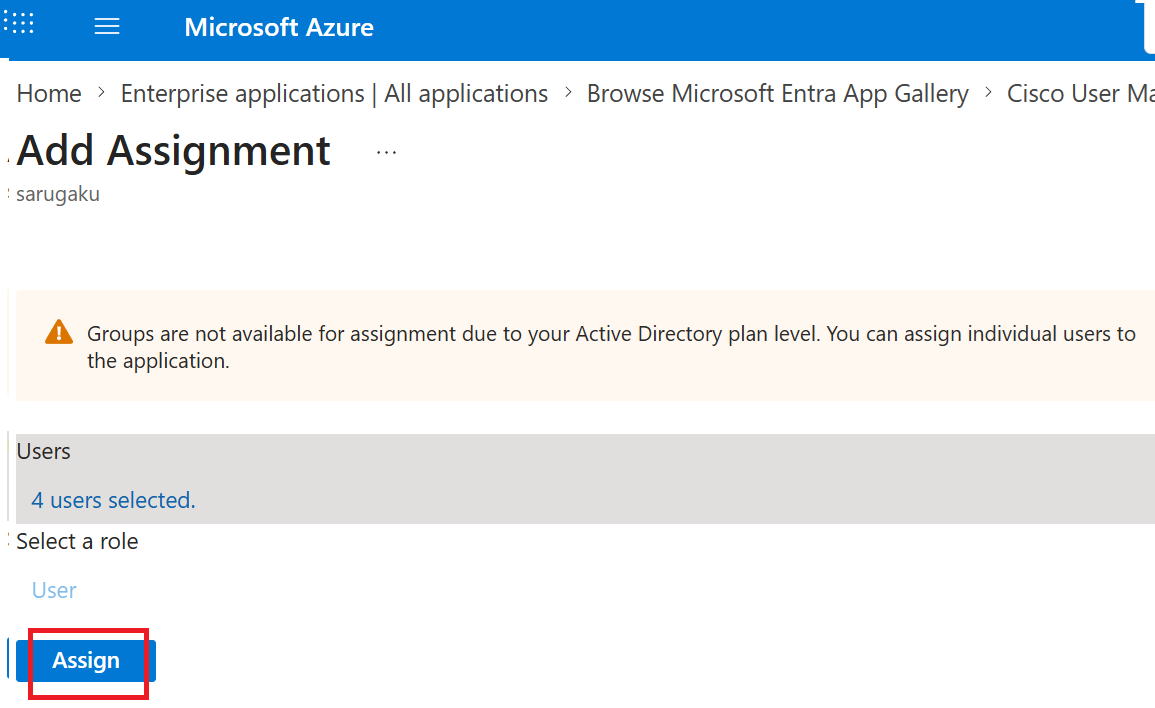
⑭ Click Assign.
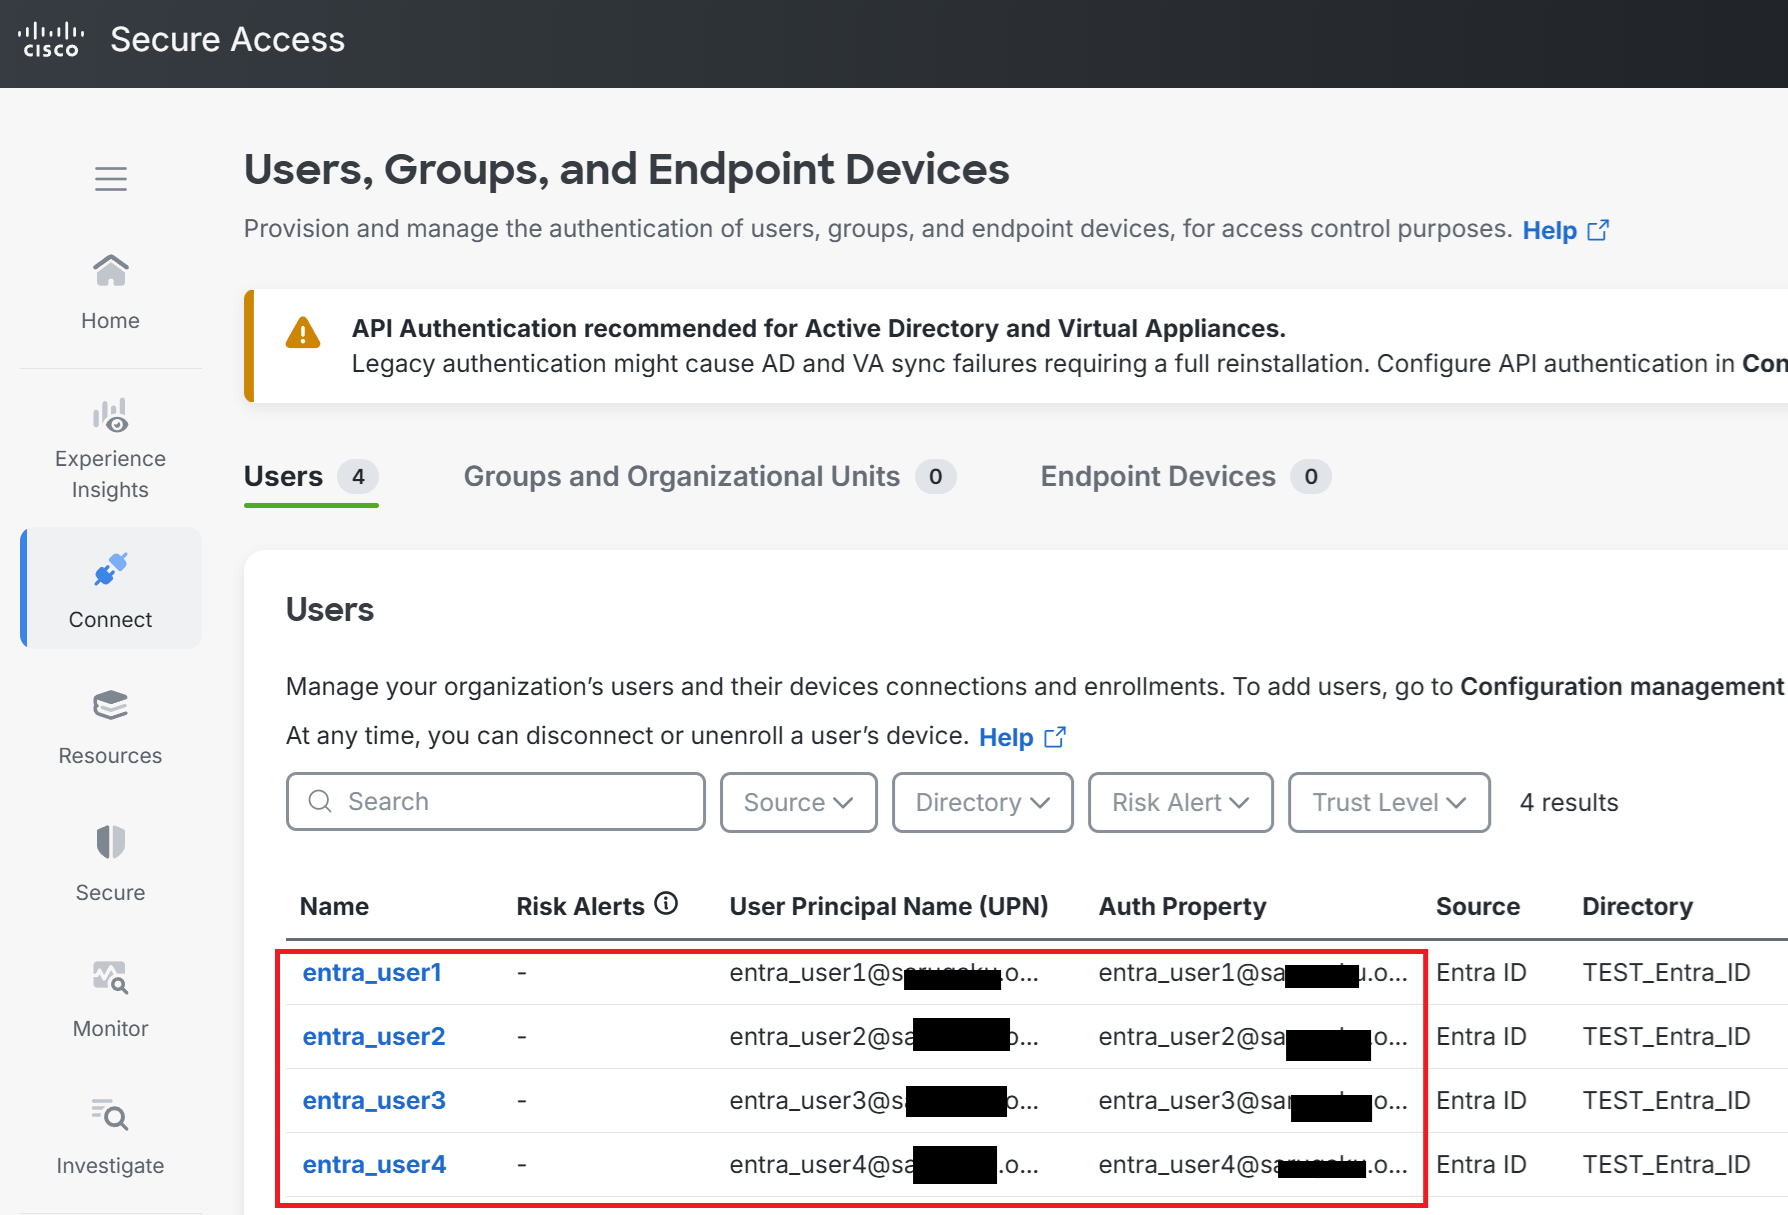
⑲ After about 5-10 minutes, the user information linked to the app was successfully synced over to the Secure Access side.
*Since we didn't link a group to the app on the Entra ID side this time, group information was not synced.
|
Phew, that was a long one. So that completes the user information sync via SCIM, right? |
|
That's right. Next time, we'll look at how to connect Secure Access and Fortigate via IPsec. Thanks for following along this far. |